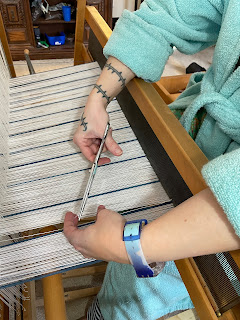
One of the issues with crackle is that although it is fairly straightforward on the loom, it can be difficult to represent in a weaving program, especially if you are treadling it tromp as writ, in classic crackle style (three shuttles!) with a larger thread as your pattern weft, every second or third pick or fourth (depending), no one wants to edit the file enough to get in there with the fine tooth comb and check every thread.
I use Fiberworks, and I generally proof crackle with overshot threading, and am often surprised by the outcome, but I think I've found an easier and faster hack using profiles.
A profile is a reduction of the design to its component blocks, rather than the detailed threading of those blocks, a simplification of what the design will look like when on the loom. What is shaft 1 on the threading draft represents appearances of block A in the profile.
 |
| a basic profile draft and drawdown |
So, here is a profile, which you can easily translate into, say, overshot (or your favorite unit weave) and know what you're going to get (and Fiberworks has a tool to handle the transformation):
 |
| The same profile transformed into overshot threading |
But crackle is not a unit weave, so this profile doesn't reflect what crackle looks like in the cloth. When you weave a block of crackle, you drag one of its neighboring blocks along. So it occurred to me, in the middle of the night of course, that the solution is to use a twill tie up in the profile draft to mimic crackle's propensity to drag a friend everywhere, so now our profile looks like this:
 |
| A crackle style profile |
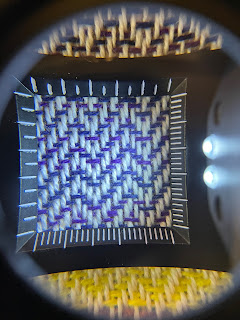
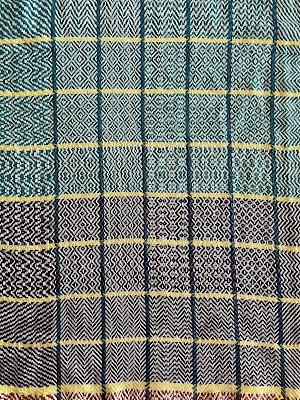
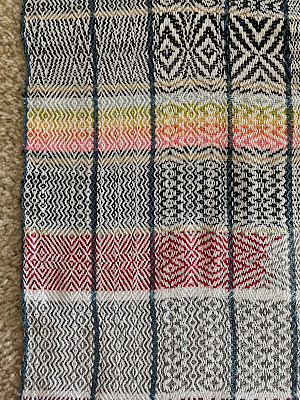
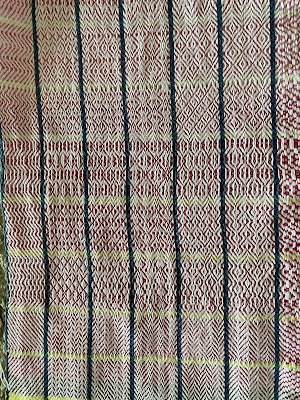
And it even resembles what I have on my loom:
 |
| Woven sample of crackle, treadled as overshot |
Although, I'd admit, not exactly. In part because I both flipped (the fell line is at the bottom) and inverted the photo to match the drawdown, and because although I have a sinking shaft loom, I tie up as if it were a rising shaft loom; most of the time it doesn't matter what face of the fabric you're looking at. Except this one time, oops! I'm sure it's a much better match on the other side of the fabric.
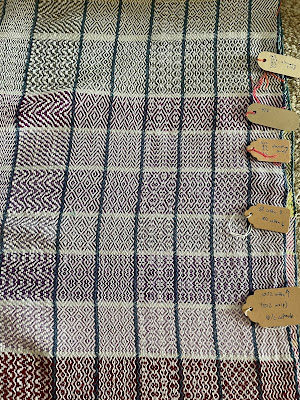
Anyway, although I'm sure I'm not the first person to think of or stumble over this trick, but it has me excited to mock up some overshot profiles as crackle profiles. I recently was alerted to a collection of miniature overshot patterns from the Weaver House newsletter (if you scroll to the bottom of their page you can subscribe too). Of course, I won't be able to weave them until I finish this gamp!