It's been awhile! I can only say... in my defense, that I had a huge work deadline last week, then it was my wedding anniversary!
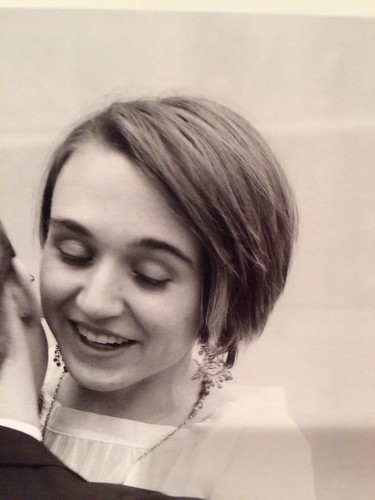 |
| Ten years! |
I was wearing my Great-Grandmother's wedding dress from the 1920s! My aunt found it in a shoe box at my great aunt's house. Somehow it was in great shape, probably because it's silk. It's pretty amazing to have had the chance to wear something like that.
Anyway, the sewing!
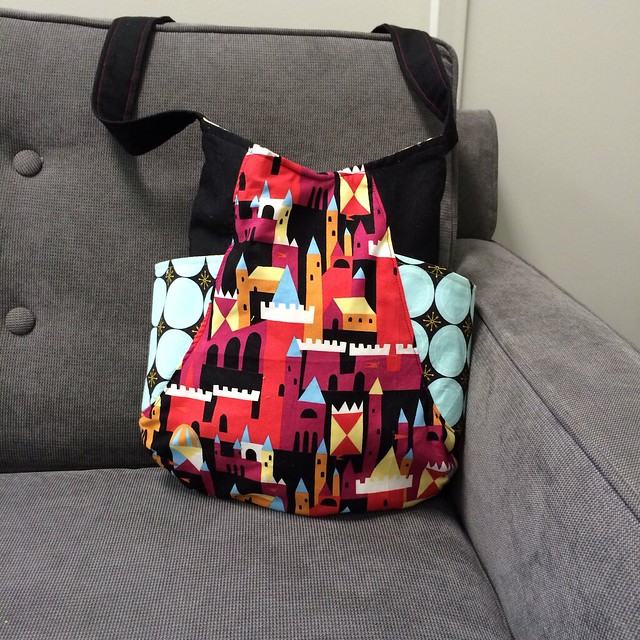
I made yet another
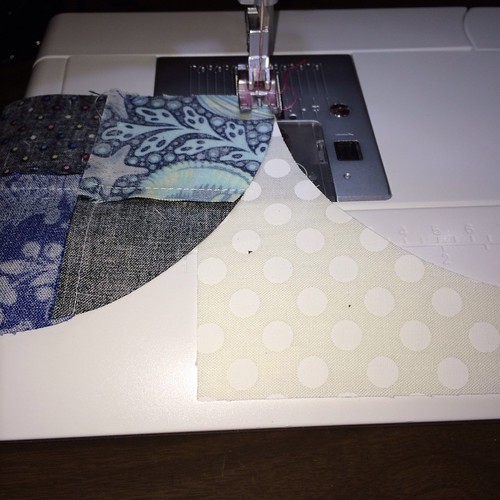
241 tote, this time with Lizzy House prints - my favorite print from Lizzy Dish (the blue plates) and my favorite print from Castle Peeps (which I managed to snag off eBay). The black is Essex Linen, which I love, the black is somehow so densely black. I did contrast red stitching on the handle, and I love that too! I do feel like my technique has improved, somewhat, on the third bag. I found that I could match the pieces up better without pinning (rather than pinning - I know it sounds crazy!) - as long as I took the curves super slowly.
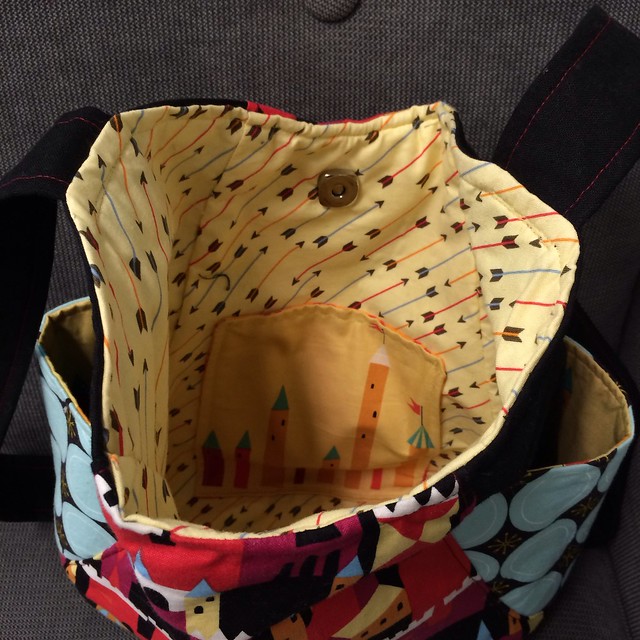
The inside has the only other print from Castle Peeps I have obtained so far (it's the inside of the outer pockets, as well) and these awesome arrows from Dear Stella, that are just about the right colors. Initially I thought I'd interfaced it too much (both the lining and the exterior got interfacing) but it seems about right now that I am carrying the bag around with me.
The only two modifications I made to the pattern were to make the strap width of fabric (about 40"), so that I could wear it cross-body, and I put interfacing in it, because a friend of mine has experienced strap stretching with hers, and regretted not interfacing it. I also make the pocket a .5" off of square, so that my phone would stay upright inside it, instead of keeling over.
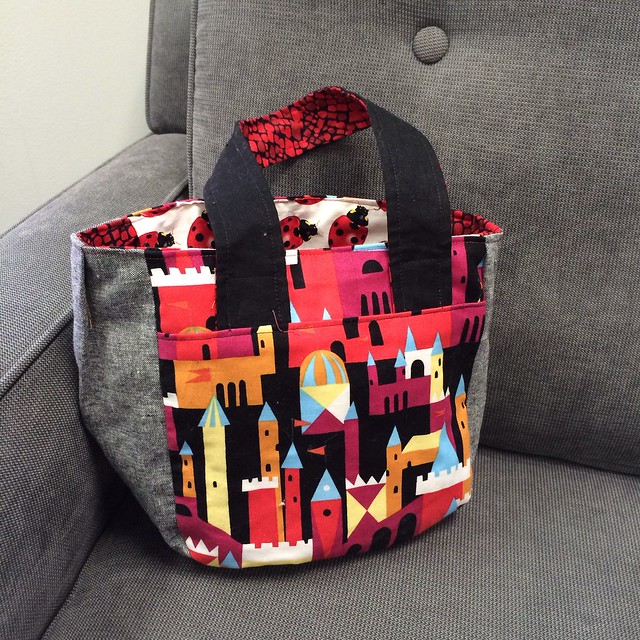
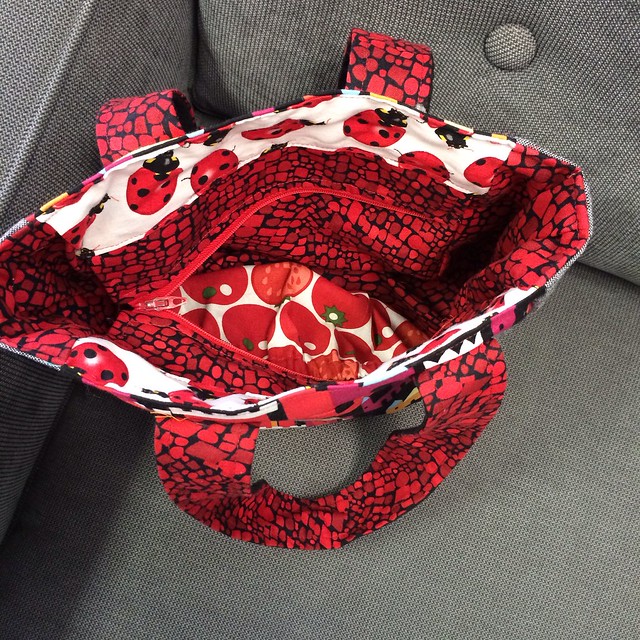
Then I made a matching bag for my daughter, not that she's interested in matching me, but I thought she'd like the fabric, too. Red is her favorite color.
It's a 2/3 scale version of the
Super Tote, with the gusset width the full scale size. And I left off the outer pocket. The handle outside is the same black linen as above, and the grey is the yarn-dyed black Essex linen. I love the look of all these fabrics together!
I did the interior zipper - three times! At least? It may have been four. I think when I make the full size one for myself, I will not be including that! That tomato fabric is one of Hoodie's - her fabric is so cute! As for the ladybugs, well, I found them in the scrap bin and had to include them. The poor child is probably sick of ladybugs, as I keep putting them on her stuff.
And she got this for Christmas! And has filled it with her precious beyblades.
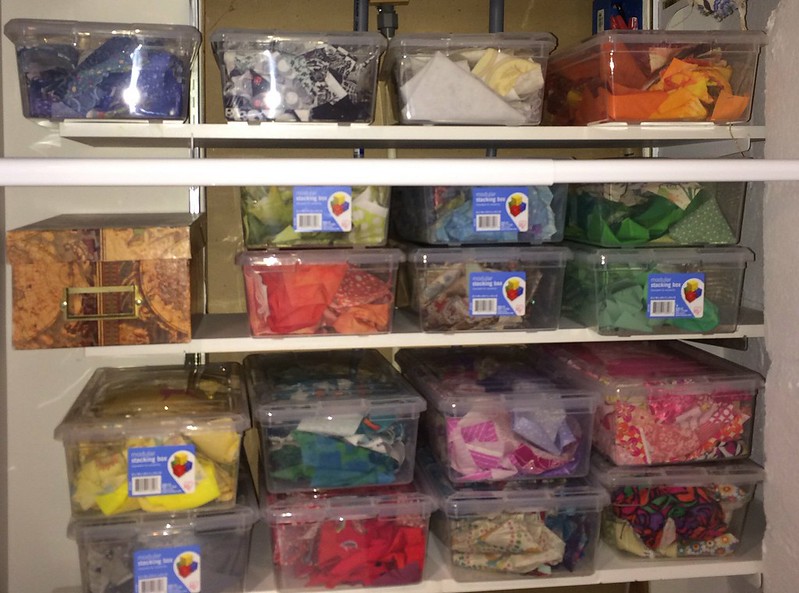
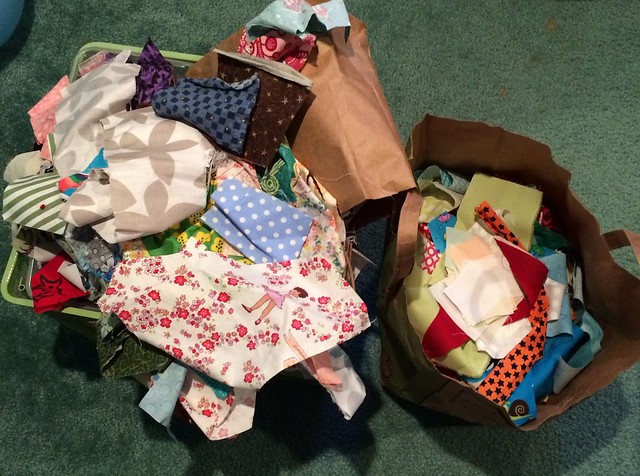
Since then, I've been working on this and that quilt, without making much progress in any (I suspect I have too many projects happening at once, honestly.) And I think I need to spend a few days (weeks?) organizing my stash and projects. Especially the scraps. I've been asking people about what they do with theirs to get some better idea of what to do with mine. Perhaps I'll blog about it. (But, don't hold your breath!)