I have written this list many times, in many forms, though I usually default to:
Quilt Name:
- next step
- next step after that
And cross out steps as I do them, but currently I am working on a million projects, and want to, say, do all the quilting in one day (ha!) or work just on binding, because I'm too lazy to switch feet on the machine all time. (Seriously, so lazy).
So I wrote the list out by task, as follows:
Binding:
Red Ridinghood
Flower Mini
Garden Party Tango
And then two weeks later when I'd crossed out several tasks, I was all, well, now the list looks terrible, and I have to write a new list... (thinking... that sounds like work, and I'm so lazy)... OR DO I?
Then I spent twenty minutes searching Amazon for something that is so obviously useful but doesn't apparently exist, and then I went to bed, scheming, because clearly I need this thing that it would take three days to create rather than spending five minutes to write out my list again neatly.
And this is the result of that scheming. (Though, honestly, I was picturing something with magnets, and I ended up with velcro because, sewing...).
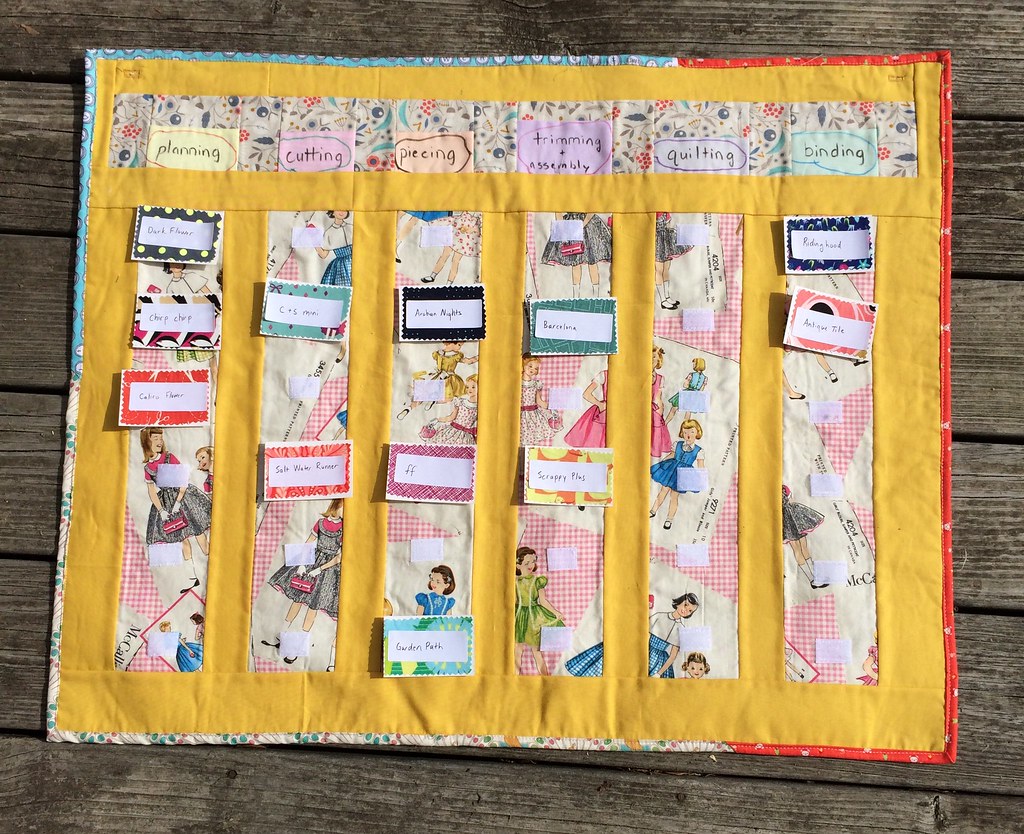
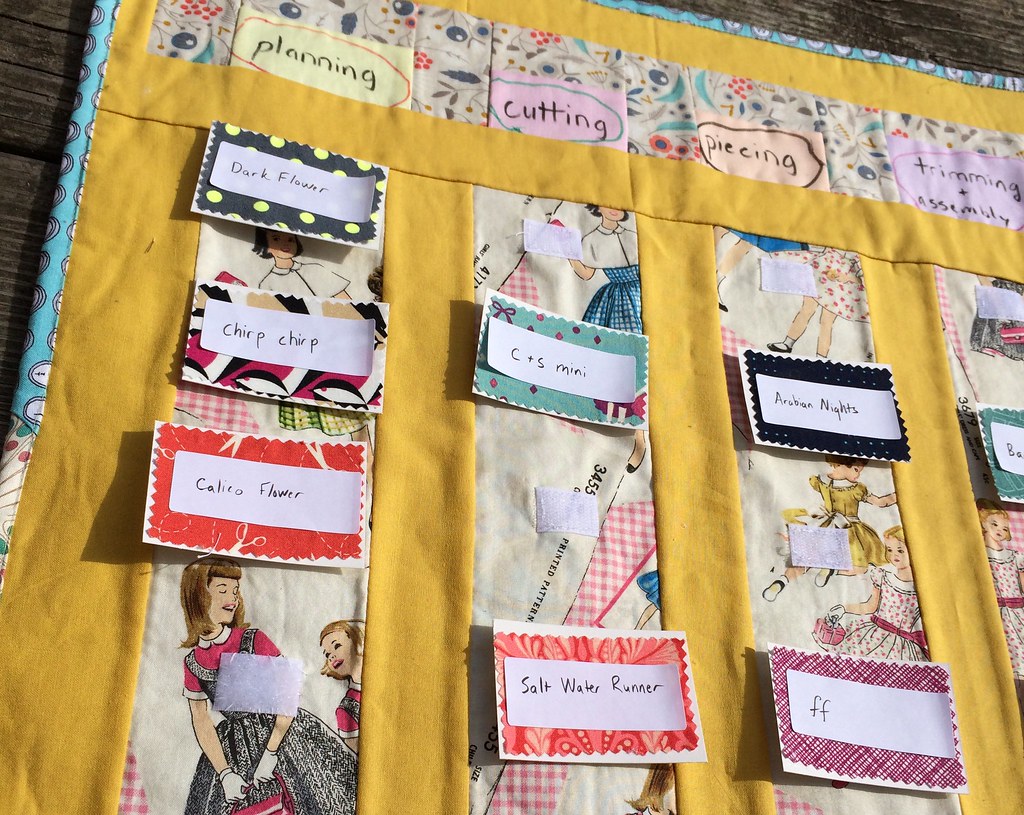
I used fabric markers on scraps of solid fabric for the column headers. My daughter decide my text needed decoration so she added the circles, without much regard to seam allowances, I'm afraid. The quilt names are on bristol board decorated with fabric (glued on).
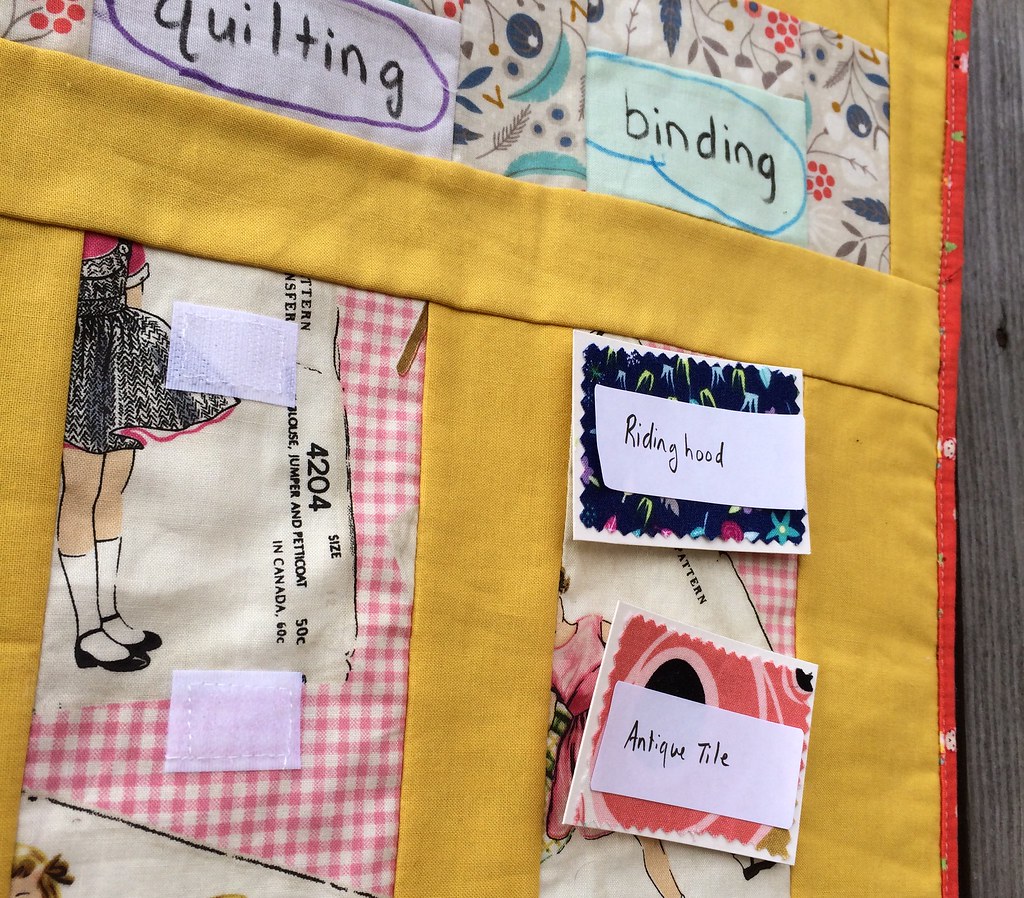
You will also notice that I used both sides of the velcro, because I was using what was on hand, and I only had enough of the 1" wide velcro to do all 30 places if I used both sides. I used dot velcro on the back of the cards:

Half of the cards have loops and half have hooks, but it may make more sense to put both on the card, especially since I have 75 pairs of dots and only about 35 cards.
Brisk Tutorial follows:
You will need:
One precious fat quarter - cut into (6) 3.5 x 18" strips
One half yard of background fabric - cut into (1) 3" x wof strip, (1) 2.5" x wof strip, and (4) 2" x wof strips
at least 6" x wof of accent fabric - cut into (3) 2" x wof strips - subcut one into 2.5" lengths.
(6) 3.5" wide solid scraps of 2.5" length
1 yard of 1" wide velcro - I'd suggest the adhesive sort
Velcro dots
batting or fusible fleece
fabric for binding (7.5" x wof should do for a 2.5" double binding)
Fabric Marker (I got mine from Dharma Trading)
bristol board, cardstock, or light weight cardboard
glue (I used Mod Podge)
Write your column headings on your solid scraps using fabric markers. I did Planning, Cutting, Piecing, Trimming and Assembly, Quilting, and Binding. I reallized once it was together that I completely forgot Basting, probably because I did not have any projects requiring basting, so now I will pretend it's part of Quilting, right? I mean, you can't quilt without basting. Embellish at will.

Join your headings together with 2" of accent fabric between them, and one on each end, trim, add a wof piece above and below. (I didn't do below, but I think it would look better.) Add 2" strips of background fabric to both sides and above.
Join your 3.5" precious fat quarter strips together with 2" strips of background fabric. Add 3" strips to the outside, and 2" strips above and a 2.5" strip below, all of background fabric.
Join top to bottom.
I fused mine to fusible fleece so I could skip quilting, and jump right to binding. I used and assortment of ends from binding other projects.

Then I had to secure all the sew on Velcro, which was unfun. I am suggesting adhesive hook and loop tape, not because you can get away without sewing it (because you can't) but because it would save you pinning it.
I attached mine to the wall by making two button holes in the top corners and nailing through them, but a few grommets would be a more attractive finish.

Now we make cards! Cut your cardboard/cardstock into 2"x3" lengths. Then find scrap fabric to fit. I pinked the edges on mine. Glue in place, then attach velcro dots to the backs. I am using 1"x2 5/8" blank address labels to write my quilt/project names on. For added project tracking, it might be worthwhile to put a beginning date and or a deadline on the label.
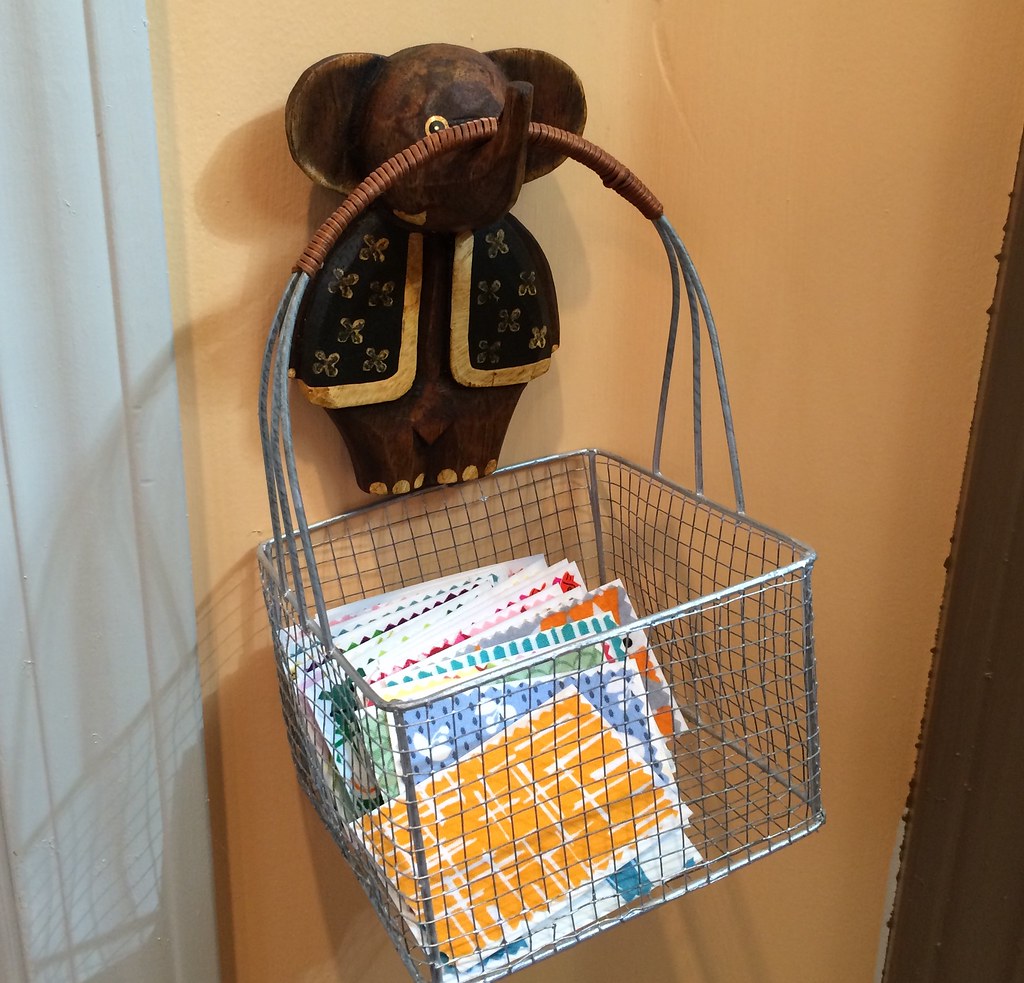
I was thinking about attaching a pocket for card storage, but the velcro makes them bulky, and the glue makes them curl a bit, so I am using a basket instead:
And that's it! I hope it's helpful for you guys! I'm not sure on all those measurement, I did just sort of wing it...
Great idea to stay organized! Oh and a note about Velcro - I use the cheep stuff with a little smear of glue from an Elmer's washable glue stick to hold it in place while I sew it down. Works great :)
ReplyDeleteGreat idea to stay organized! Oh and a note about Velcro - I use the cheep stuff with a little smear of glue from an Elmer's washable glue stick to hold it in place while I sew it down. Works great :)
ReplyDelete