 |
| She will look at this and regret that she has no red socks to match. |
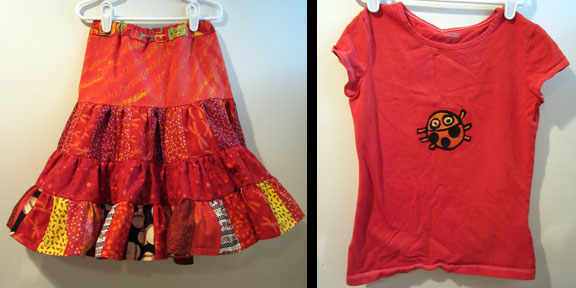
The fabric on the skirt's upper layer was hand dyed with thread resists - also three color dyed - the same three colors as the shirt, I'm almost sure. But, whatever, let's talk about construction!
I started off with McCall's M5841, which is darling. But I tinkered. First of all, I made layer one longer, and added a contrasting waistband, which maybe is too distracting. Maybe?
I made layer three a solid color, and widened it. Otherwise, I cut down the width of every layer by nearly a third. The bottom layer is supposed to be 17 width of fabric strips sewn together, then cut into 8 pieces and then sewn together into a giant loop - mine, by contrast is 12, cut into 7.
Still, an immense undertaking. I am grateful to the existence of the serger, because while cutting out thirty pieces is easy, the enormity of the task of finishing the resulting seams was keeping me up nights...
I took the extra steps of finishing seams first, and then sewing them together on the proper machine - at least when attaching the layers - this did add a step, but it also made fixing mistakes (and oh, there were many!) easier. The long rows of strips, however, were put together on the serger.
I am also glad that I hemmed the last section before attaching it, because I am often a great procrastinator on hems. And at the last minute, I threw in a lining, so all the layers and seams wouldn't make it too uncomfortable to wear.
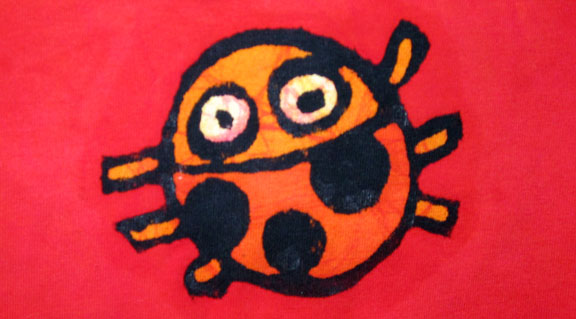
And finally, here's a close up of the ladybug:
 |
| maybe a bit out of focus? |
No comments:
Post a Comment