-->

Wednesday, September 24, 2014

The Last Good Weekend


I was on vacation when the last free swatch offer on Spoonflower went up, so without access to a computer, I had to just pick something I knew I hadn't printed, so I picked my entry to the Noir contest - The Last Good Weekend.

The bird is just a watermark.
I posted this before, and here that is. The funny thing is that I say right there not to order it because it has a fake pattern repeat. And yet I completely forgot that 10 months later. Wouldn't you know?

Anyway. The other funny thing is that when I got my swatch of it in the mail, my four year old was all, Mommy, make me a bag from this! 

Yeah...no. I don't know what people think of me now, but I think if my kid is carrying around a bag with shot glasses on it, we all know what they'll be thinking then!

I took the swatch to the Ann Arbor Modern Quilt Guild meeting, and it was a hit, so I'm writing this post primarily to provide the direct link to the fabric for interested friends.

I then realized there was a flaw - it was designed as a fat quarter, and the original design only extended 36" x 25". The repeat isn't mechanical, I placed each motif manually! I've managed to copy and paste more motifs into it till it's 44" x 36" so if you order a yard, you'll now have a full yard without issue, but if you order multiple yards, there's going to be a place where designs don't line up at the boundary between the first yard and the second (and so forth).

Another warning! The swatch I showed, the Eco Canvas, is at least in part polyester. The dyes they use are bright on polyester, but tend to be duller on a woven cotton. So the color may be slightly different from the swatch as well. 


Tuesday, September 23, 2014

On leaving things out

So, when I posted Dragon Park on Sunday, I was in despair. And also sick with a head cold. Maybe they were related? No matter!

I went to art class on Monday, and during the critique of homework assignments, I had a revelation.

It's not about reality. It's about the piece.

What happened was this - someone had made a full color picture of their pet for the assignment, an animal which has black and white spots. I said something to the effect of, "because you used white, those are the brightest thing in the picture, and you should consider yellowing them to cream in order that they become less distracting." And another person in the class was like, "but if the creature is black and white, you should use black and white..."

But, no. You shouldn't. Because art is not reality. It's a shorthand form of reality. (Also! there are a billion shades of white, and you quilters know this already, am I right?)

And in an image the lightest thing (or the darkest, or the most saturated, or whatever it is) in the picture is going to be the center of attention, so you need to choose it carefully. And! Also, back to my own problems with my piece, you can't just cram shit in because you spent days drawing it and it's part of the story in your head that compelled you to start the silly thing in the first place.

It's not about reality. It's about the piece.

I have another illustration of the point, from a 3D class I took nearly a decade ago. We had a project where we had to make a clay model combining two unrelated objects that shared features into one object.

I made a dinosaur, modeled off a stuffed animal:


But for its tail it has a set of teeth. My teeth, to be exact, modeled off of the cast I got from my orthodontist when he finished mucking with my teeth.

The ones on the left to be precise.


 Now, this piece was submitted for the student show, and it was not accepted. And my professor, who had been at the jurying explained to me why. It was because of the tail.


This tail:


Because it has that shelf! Because that shelf does not make sense as part of the piece. Although it was there in the teeth, it doesn't actually work as part of a dinosaur. I had made a literal translation of two objects, without ever considering them as a whole. And they were right to reject it!

Because... It's not about reality. It's about the piece.

Anyways, I've been thinking. About needing to unify the piece, about letting go parts that don't work.

So, I present, after an evening's labor, a simplified (both in color and in motifs) Dragon's Park:


I have dropped the double dragon (though I spent days getting that right, ha!) the lovers (ditto), and the keys (ditto!). I went for reflected rather than rotated dragon/trees. I rotated most of the elements so that they are now approaching vertical orientation, which reduces that pesky optical illusion of slanting... (They are not symmetric shapes, so they can't be perfectly straight.) It still doesn't quite work, because clearly the pieces don't quite fit together, and mostly because the trees should fill the space above the gate, rather than looking so stunted, but it's absolutely an improvement.

And my favorite pieces are still there, so yay!

I also picked a color family to work from - to give an extra push for unity - and except for two saturated hues, the apples/blood and the gate/dying trees, every tone gets greyer as it gets lighter.

New Spoonflower link here.

Sunday, September 21, 2014

Dragon Park!

Oh, there is a backstory to this, but is it worth getting into? Probably not.

Anyway, here's the current version of Dragon Park. I think it may need a lot of further work, which I am not going to give it at the moment. I'm going to put it away now, and maybe come back to it, or maybe not. There's an issue, it seems, with those great big verticals. They seem to accentuate any unevenness of motif placement


But, as promised, here's my favorite bit:


Lily and her friends. Owen and his charges. But man, I wish I'd swung this about five degrees clockwise... But I built it in a way that makes editing difficult.

I put a lot of work into it, and it's quite distressing to see how short it fell... but, anyway, I learned a lot, right?

Sunday, September 14, 2014

Princess Pip Skirt

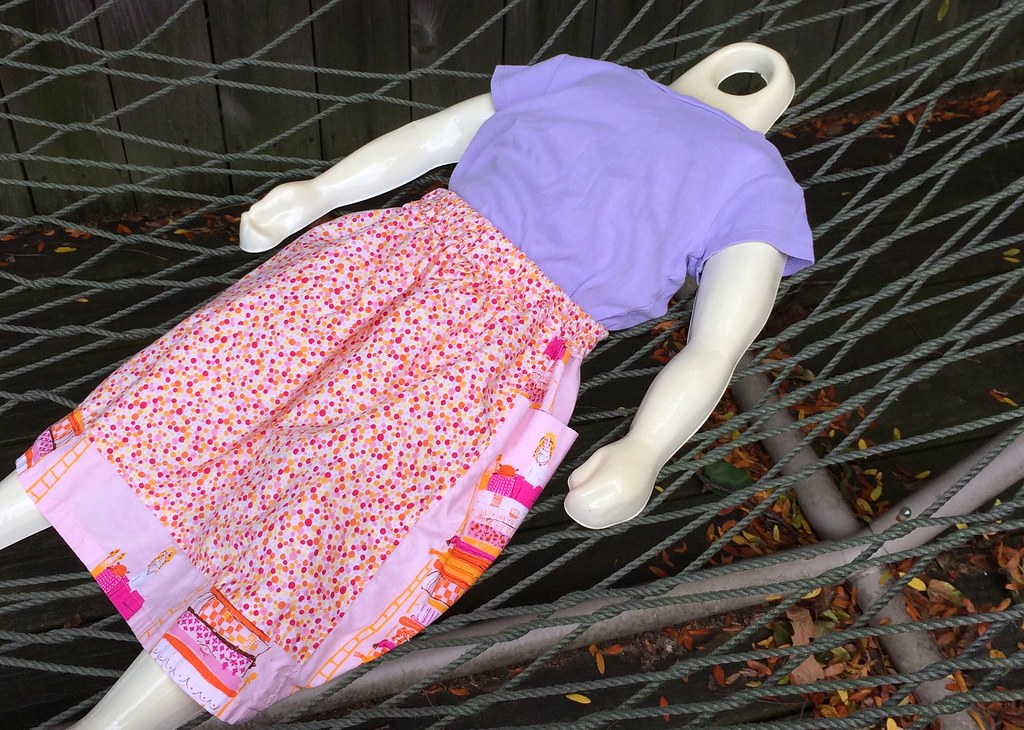
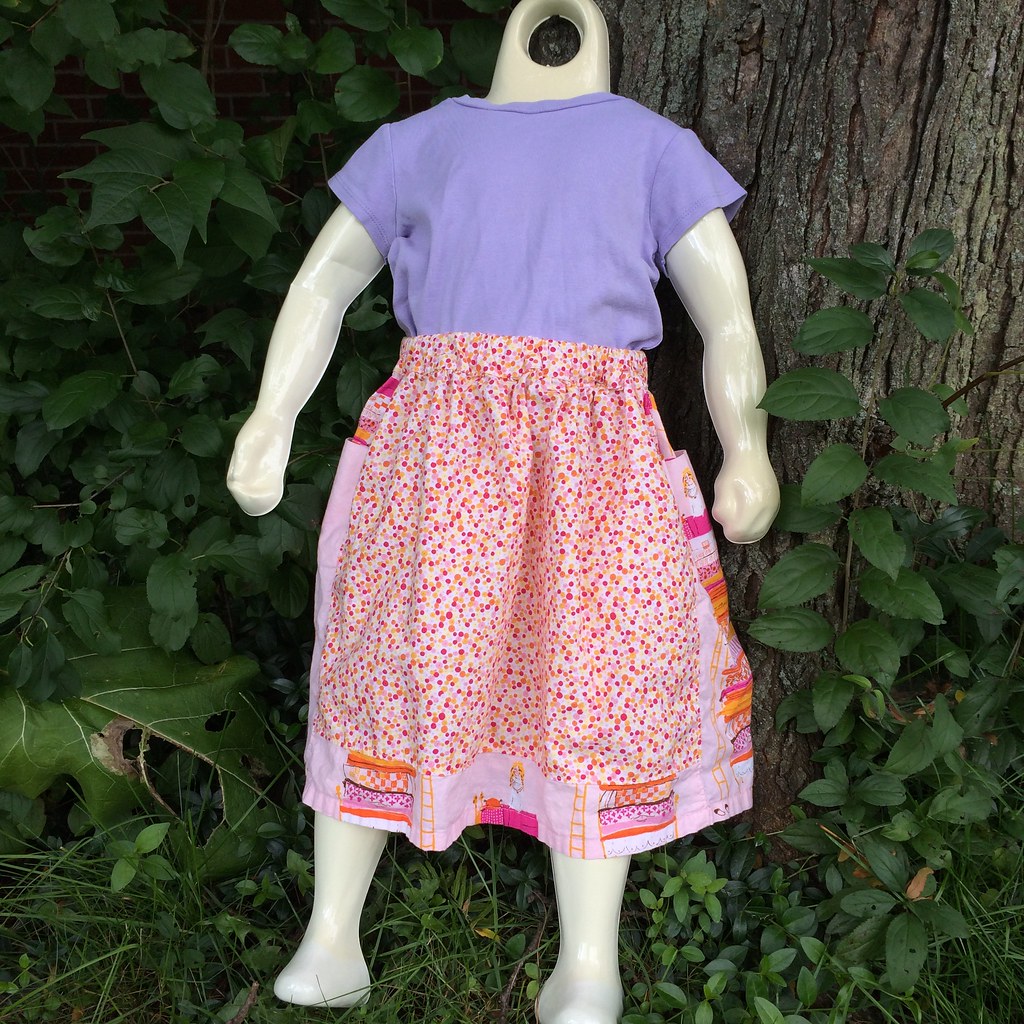
When Jenn of A Jennuine Life put up her free tutorial for the pip skirt, I knew I had to make it for my daughter, and briefly considered being good and using stash fabrics, then thought, no, what would be perfect for my princess crazy daughter is a skirt using the princess print from Far Far Away. (I'm linking the blue, because the lavender one I used is sold out!)

So, I bought it, and decided that the yellow fairy dust dot from Enchanted would be a good match (it is! there is only one color in it not in the Far Far Away print...) A half yard of the dot, because I was going to use if for the contrast pockets, and a yard of the princess.. But that's not what happened.


I ended up swapping them. And because I wanted the princess to be a whole piece, from crown to shoes, the skirt is also longer than the pattern specifies, and the half yard of fairy dots wasn't enough.... So, I ended up splicing in princess on the hem to get the whole thing to size.

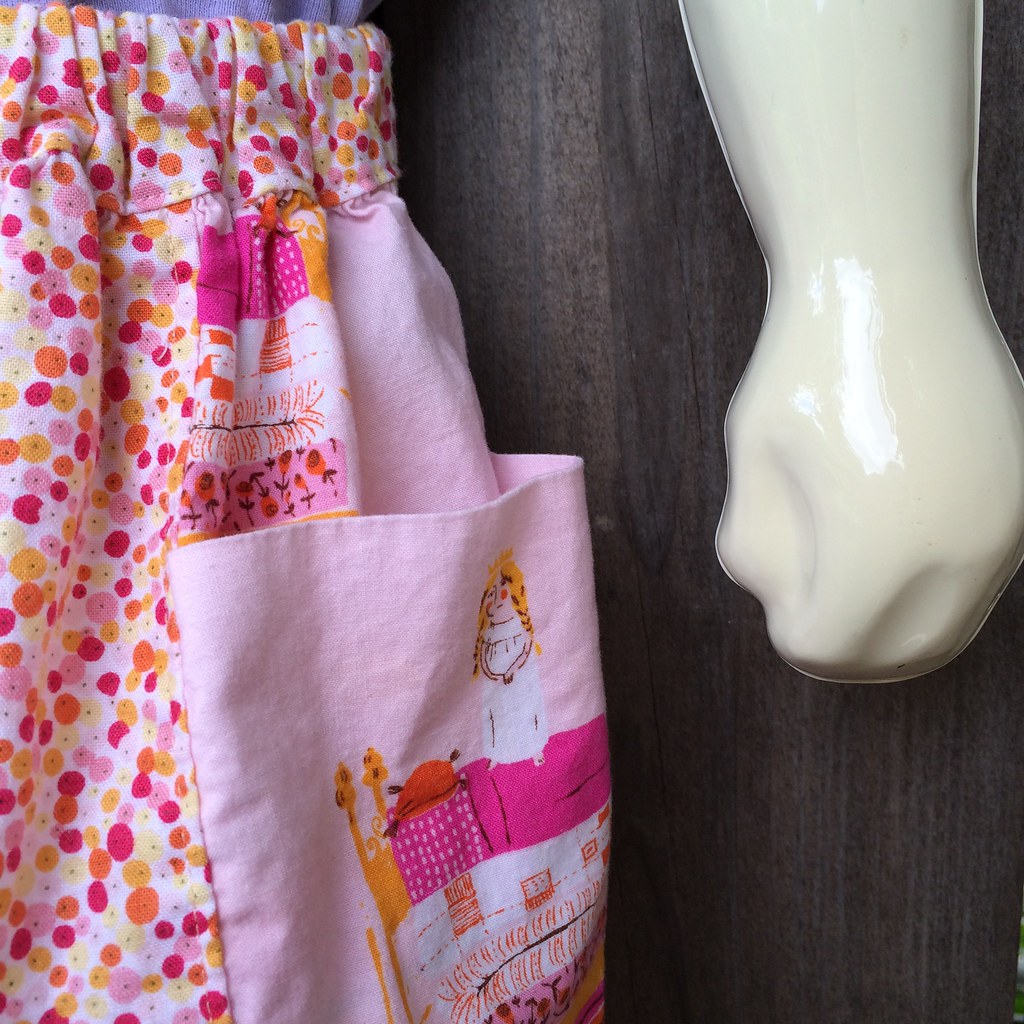
The cool thing about the pattern is it has a very easy way to put in the pockets:


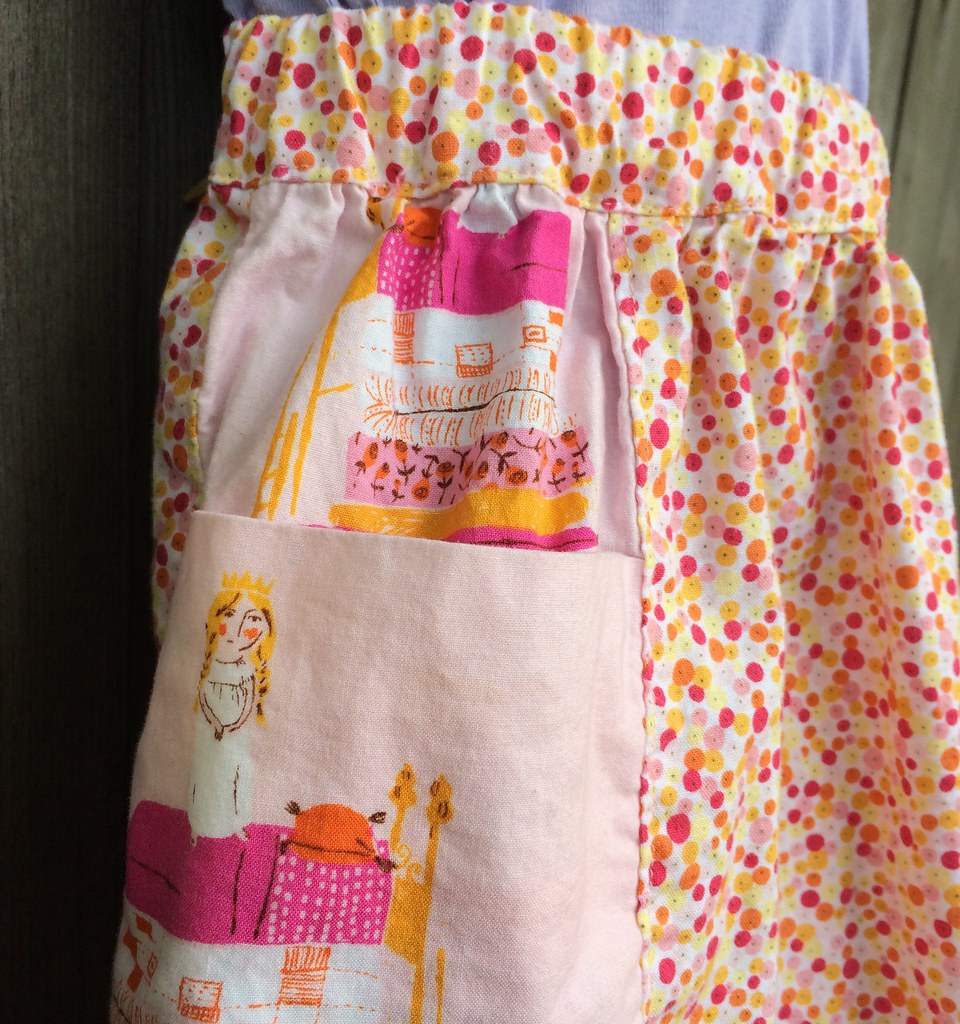
The cool thing about the princesses is that one faces to the left and one to right, so by fussy cutting them I got two princesses, both looking forward:


Ha, these two picture are so not color corrected! I feel I should mention also that my pockets are wider than the pattern indicates to accommodate the princess without parts of her bed disappearing in the seams.

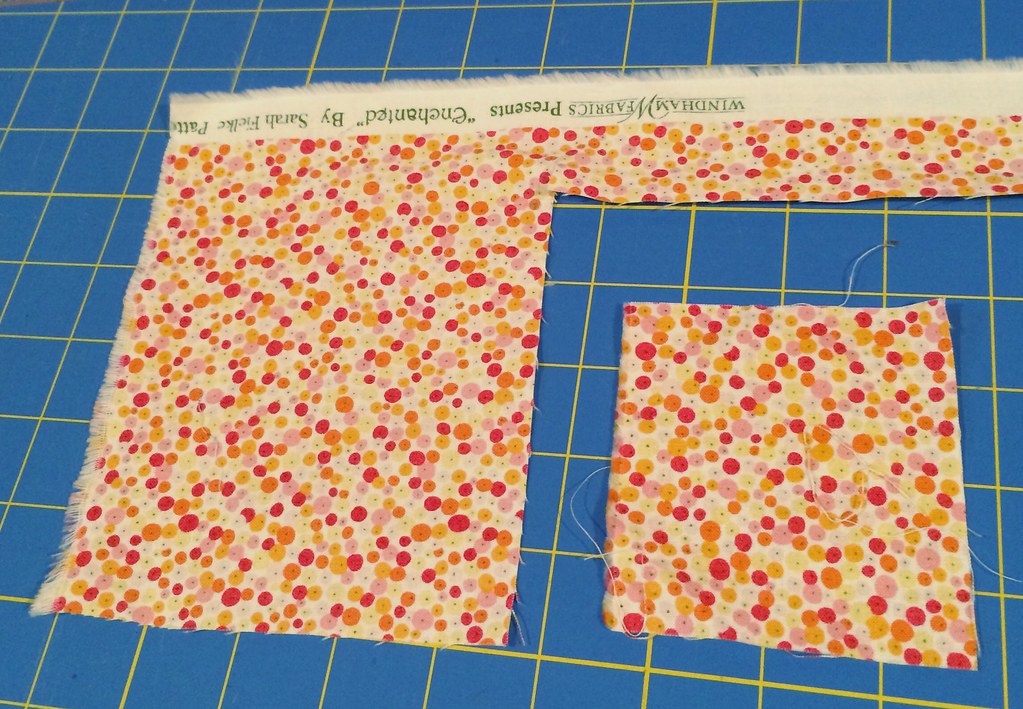
Two things, though, the 4T size that I made is the size right before one goes from needing half a yard of main print to more than that, and maybe it requires more fabric, as I used all of that dot, except:

 Then again, my skirt was longer, so maybe no one else will run into this issue?

And the second thing is that if you have a directional print for the pockets (especially when the print runs parallel to the selvages, as the princesses do) you need to by a yard of fabric (or 3/4?), rather than a half yard. It's really a case of needing to sit down and think about the pattern first before buying fabrics.

Anyway, it all turned out well for me (and my daughter):


She was demanding to wear it before the basting stitches were out, though I did convince her to wait until I got the elastic sewn together and the pin removed from the back...

Sunday, September 7, 2014

Positive Spin

I started school two weeks ago, taking two classes while working full time, and now I look at this blog with some anxiety, for my carefully laid plans have pretty much come apart, and I feel (not entirely incorrectly) that I am getting nothing done.

And also the thing I meant to blog about this week is in the laundry!

But, rather than focus on the things that are not as I hoped, I'll just show you what I have been actually doing these past few days:


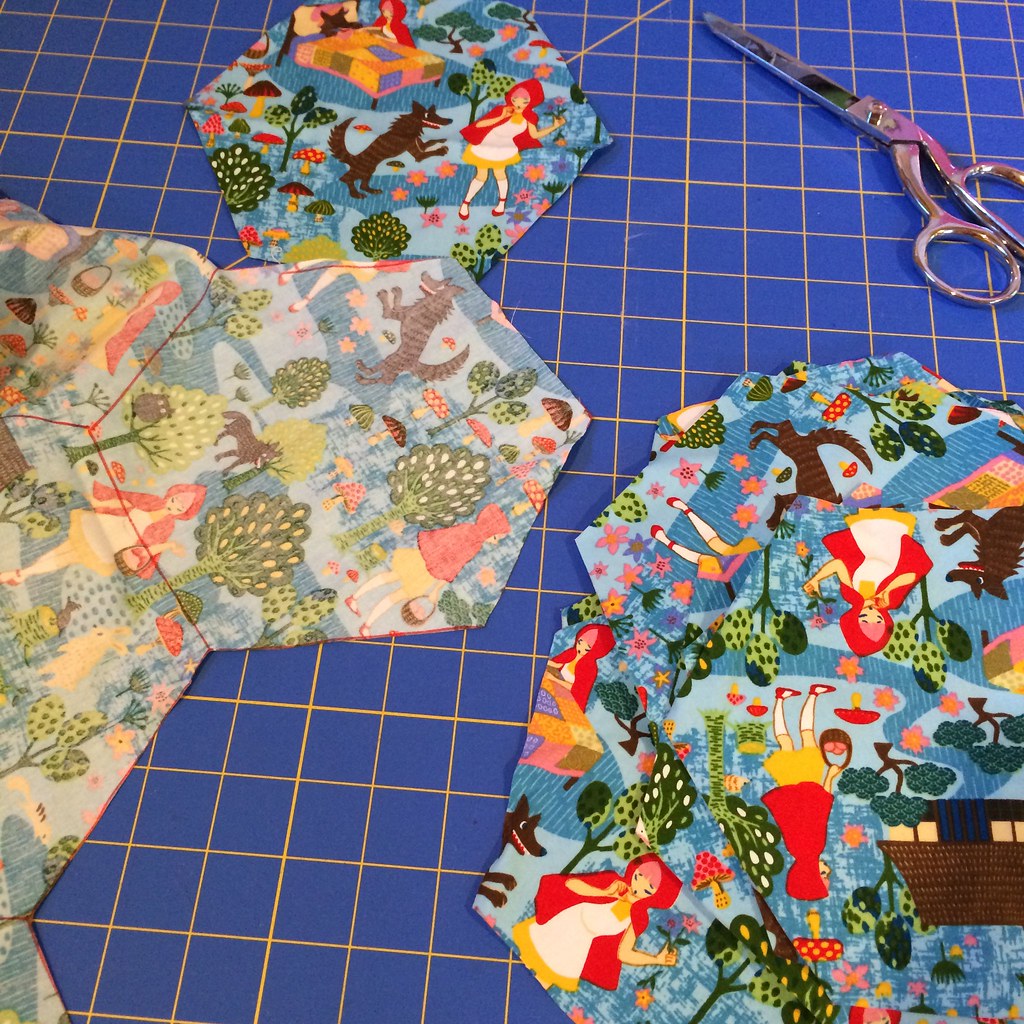
I've been cutting all this fabric into hexagons for a lap quilt. I marked it out with a red fabric marker, cause I thought: "It'll be in the seam allowance, so who cares?" But then there are the places where I messed up and the marker jumped away from the template, so there may be a hexagon or two that has to be discarded, because it does show up on the reverse side.


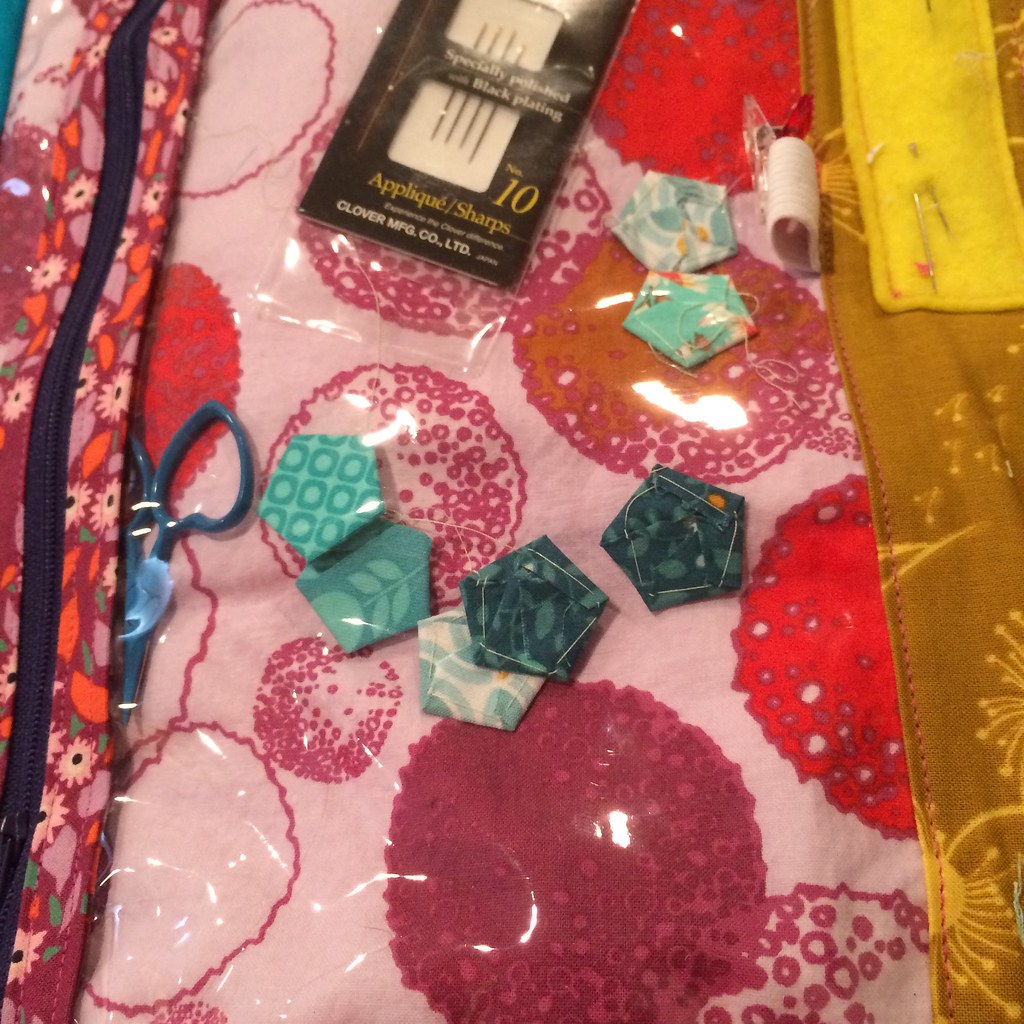
I've started the spherical pincushion up again, this time with 5/8" sides.


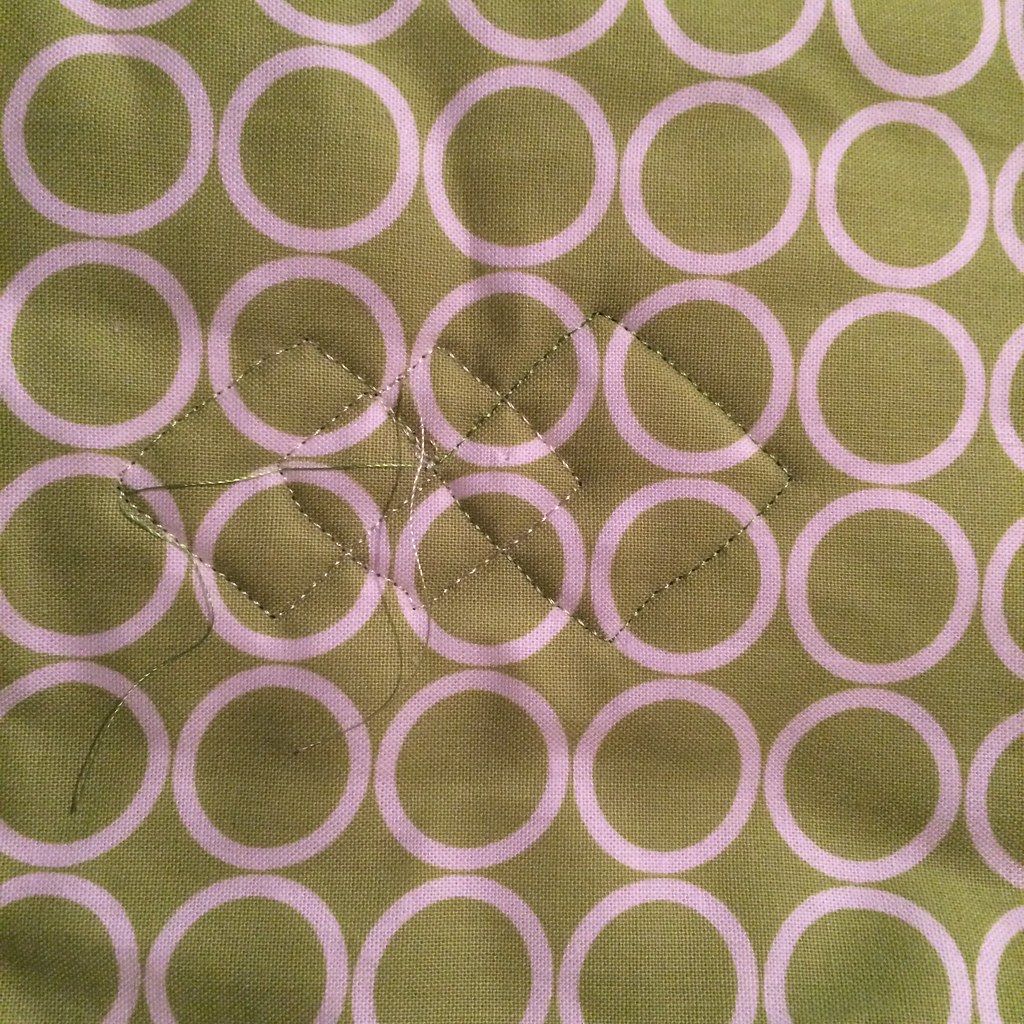
I'm burying the ends from the first round of free motion quilting on this baby quilt. And there are a lot of ends... Can't show the front, it's a secret!


Marshaling (and increasing) my Tula Pink collection because I am going to do a presentation on her for one of my classes. Which I may need to put together tonight, come to think of it...